Learn how to replace rubber tracks
thanks to this TUTORIAL
Replace your rubber track by following these simple steps so you don’t install or disassemble it incorrectly.
We thought we had to create this guide because we often get the same questions from customers about how to replace rubber tracks.
You can watch the video tutorial here.Don’t forget to bookmark it to always have it at hand and follow our channel to stay up to date! |
Or download the guide on how to replace rubber tracks here.
|
HOW TO REPLACE A RUBBER TRACK
1 FIRST, YOU MUST LIFT THE MACHINE USING THE ARM AND BLADE
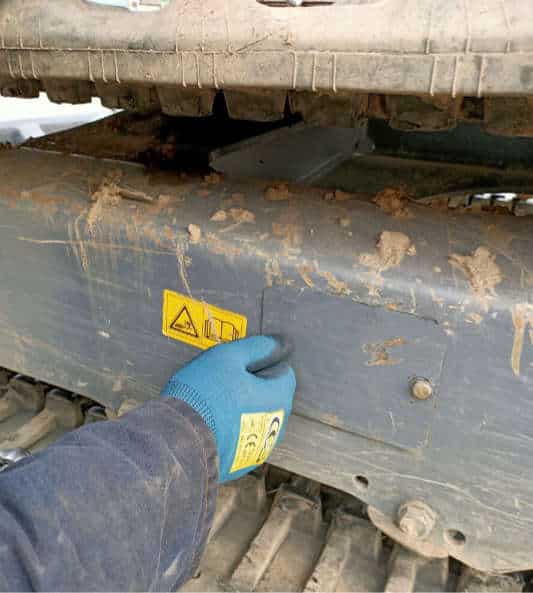
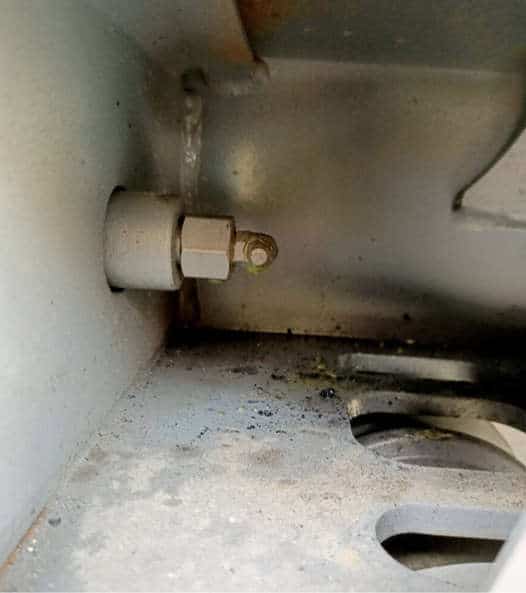
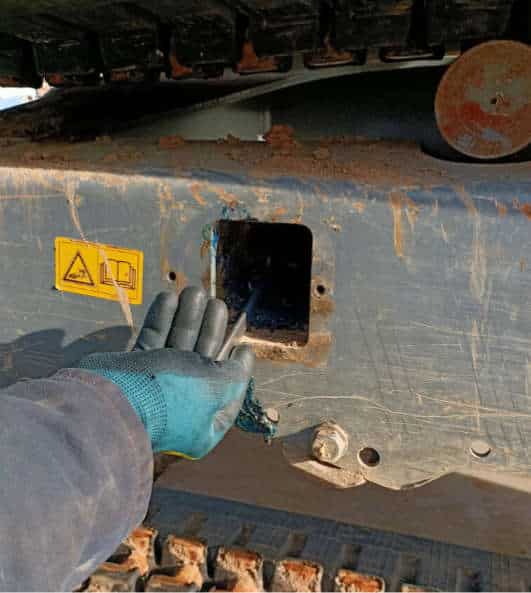
| Unscrew the greasy cover. | The grease fitting is located at inside the greasy cover. |
Unscrew the grease fitting. |
|
|
|
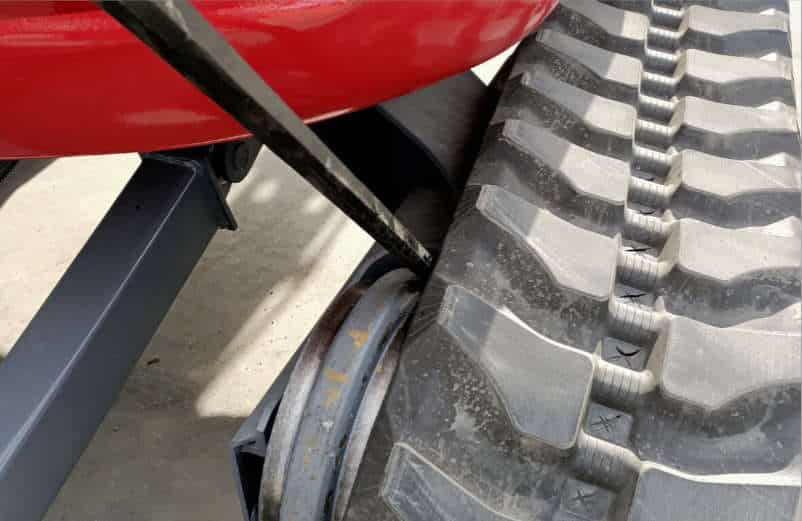
2 APPLY PRESSURE ON THE TRACK USING AN IRON BAR ON THE SIDE OF THE IDLER WHEEL TO FACILITATE ITS RETURN TO THE ZERO POSITION
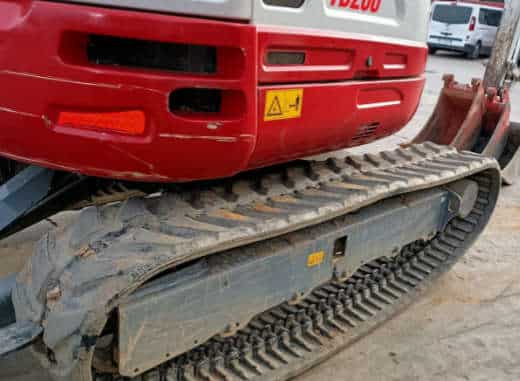
| Front idler position that grease does not escape. 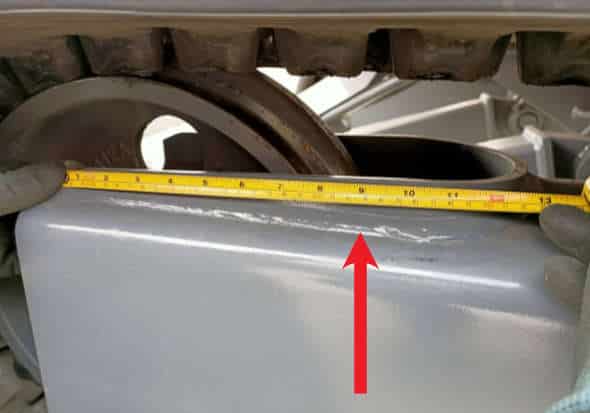
|
Grease leak in the greasy cache. 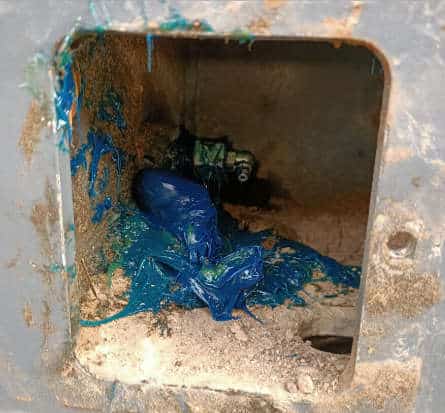
|
Idler position after the grease leak. 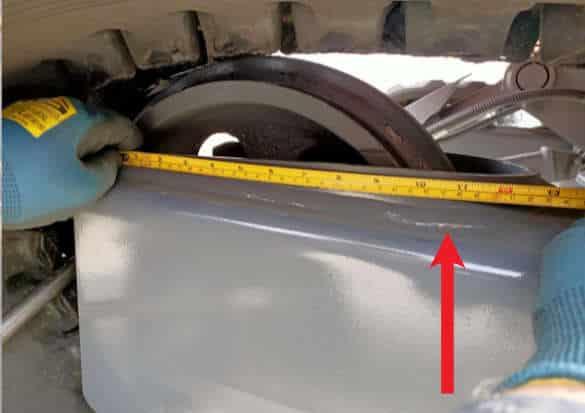
|
3 THE IDLER WHEEL
|
When the idler wheel is fully retracted, the track is loose as shown in the photo.
|
Place the iron bar on the idler wheel, slowly turning the track to disassemble the rubber track to be replaced.
|
4 WHEN THE FRAME IS FREE, PERFORM THE FOLLOWING CHECKS:
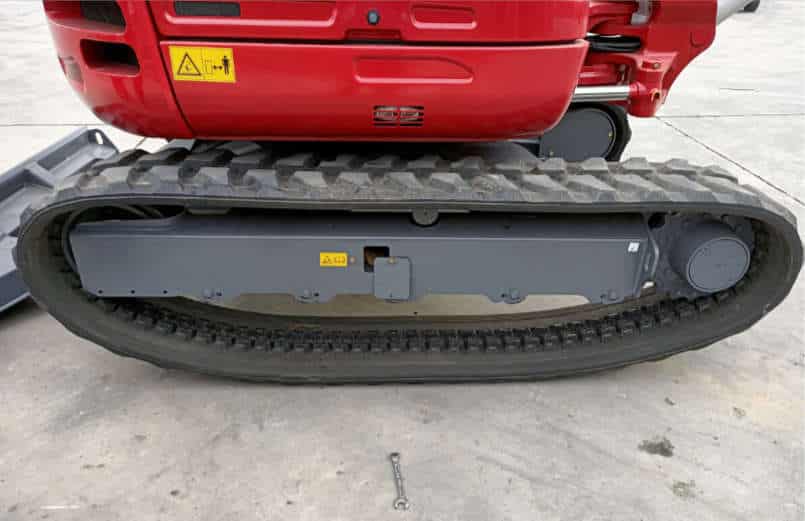
Clean the chassis of any dirt or other residue.
| Check the presence of all external and internal bolts and verify that they are properly closed. | 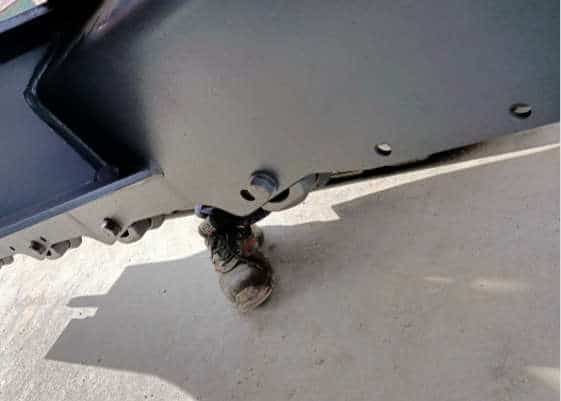
|
|
Check that the rotation of the upper and lower rollers is free. |
Check gypsy and idler wheel play.
|
5 POSITIONING THE NEW TRACK
|
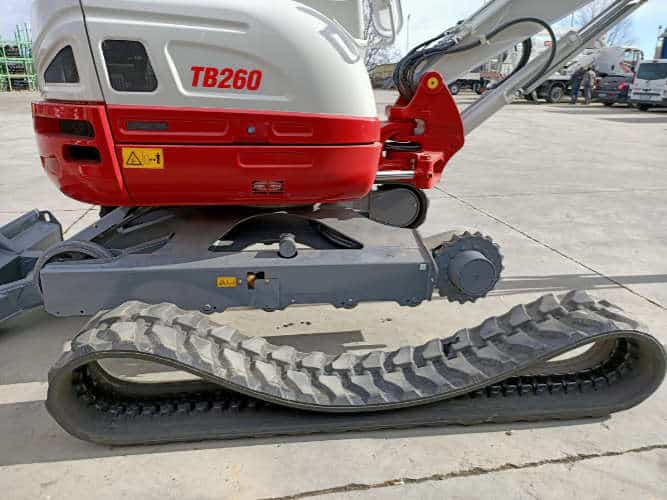
Position the new track next to the machine.
|
Check the direction of rotation of the tread (if it is directional) and respect the direction of movement towards the blade. 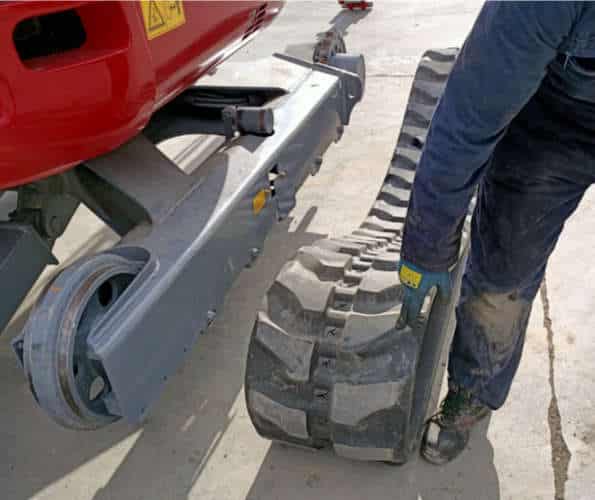
|
6 POSITION RUBBER TRACK USING BARS OR CROWBARS
Position it starting from the gypsy, then from the idler wheel, possibly using a slow rotation of the gypsy.
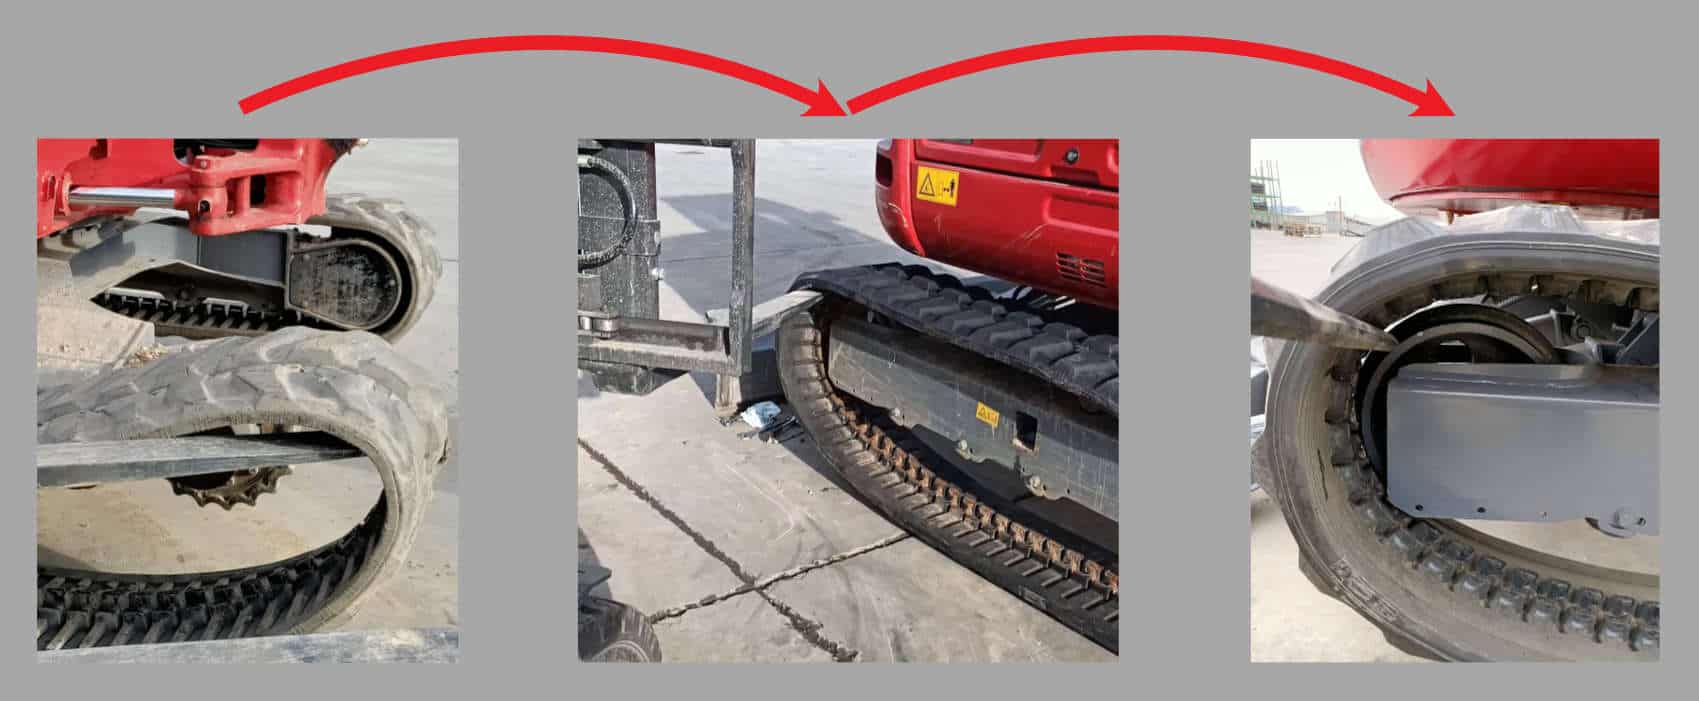
|
7 NOW THAT THE CATERPILLAR IS IN ITS SEAT
|
Add grease (with a pneumatic or manual greaser) until the correct tension is achieved according to the excavator’s use and maintenance manual. Tighten the tensioner valve to the end of the stroke, |
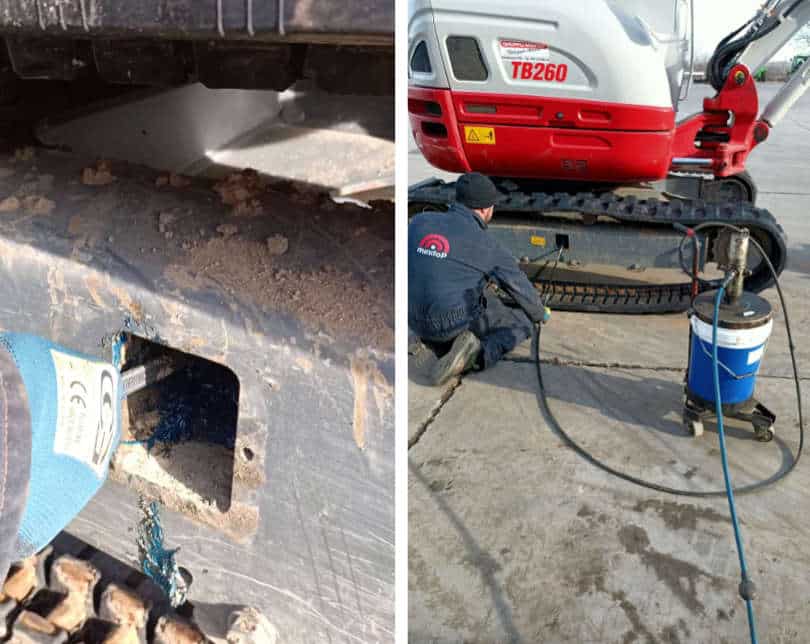
|
8 TOLERANCE
|
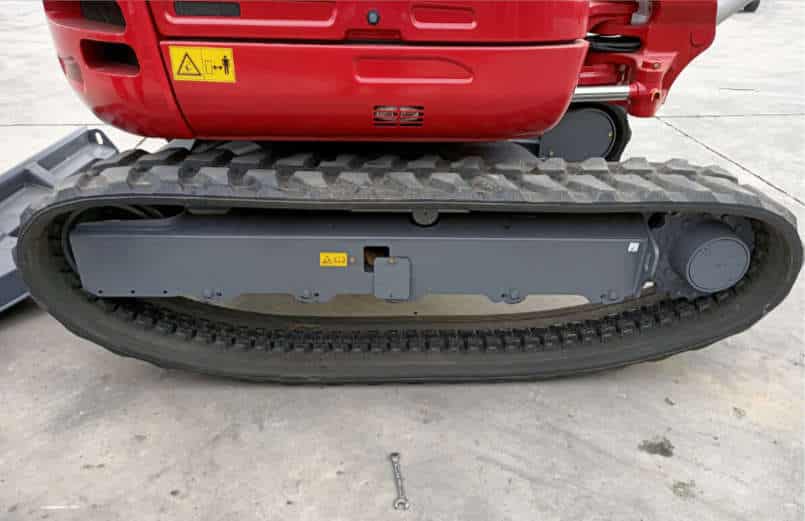
Slowly rotate the track with the vehicle still off the ground to check for proper rotation. Once the track tension is correct, lock the grease nipple and refit the grease cover. For example, in the case of the TB260, it is necessary to leave a free space of 9 to 10 cm, measured at the center of the chassis. |
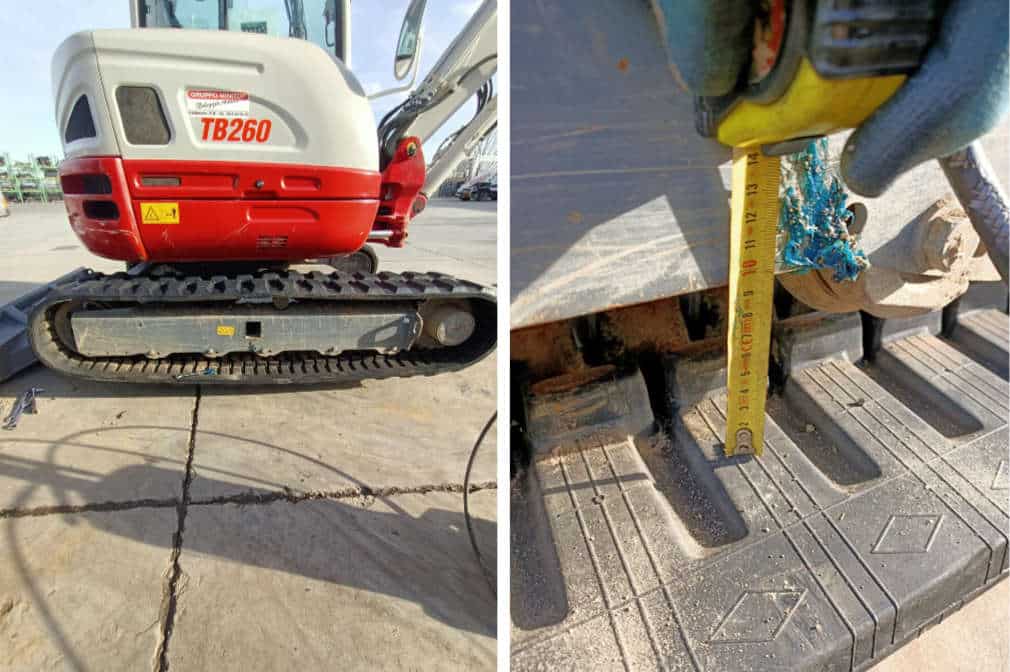
|

